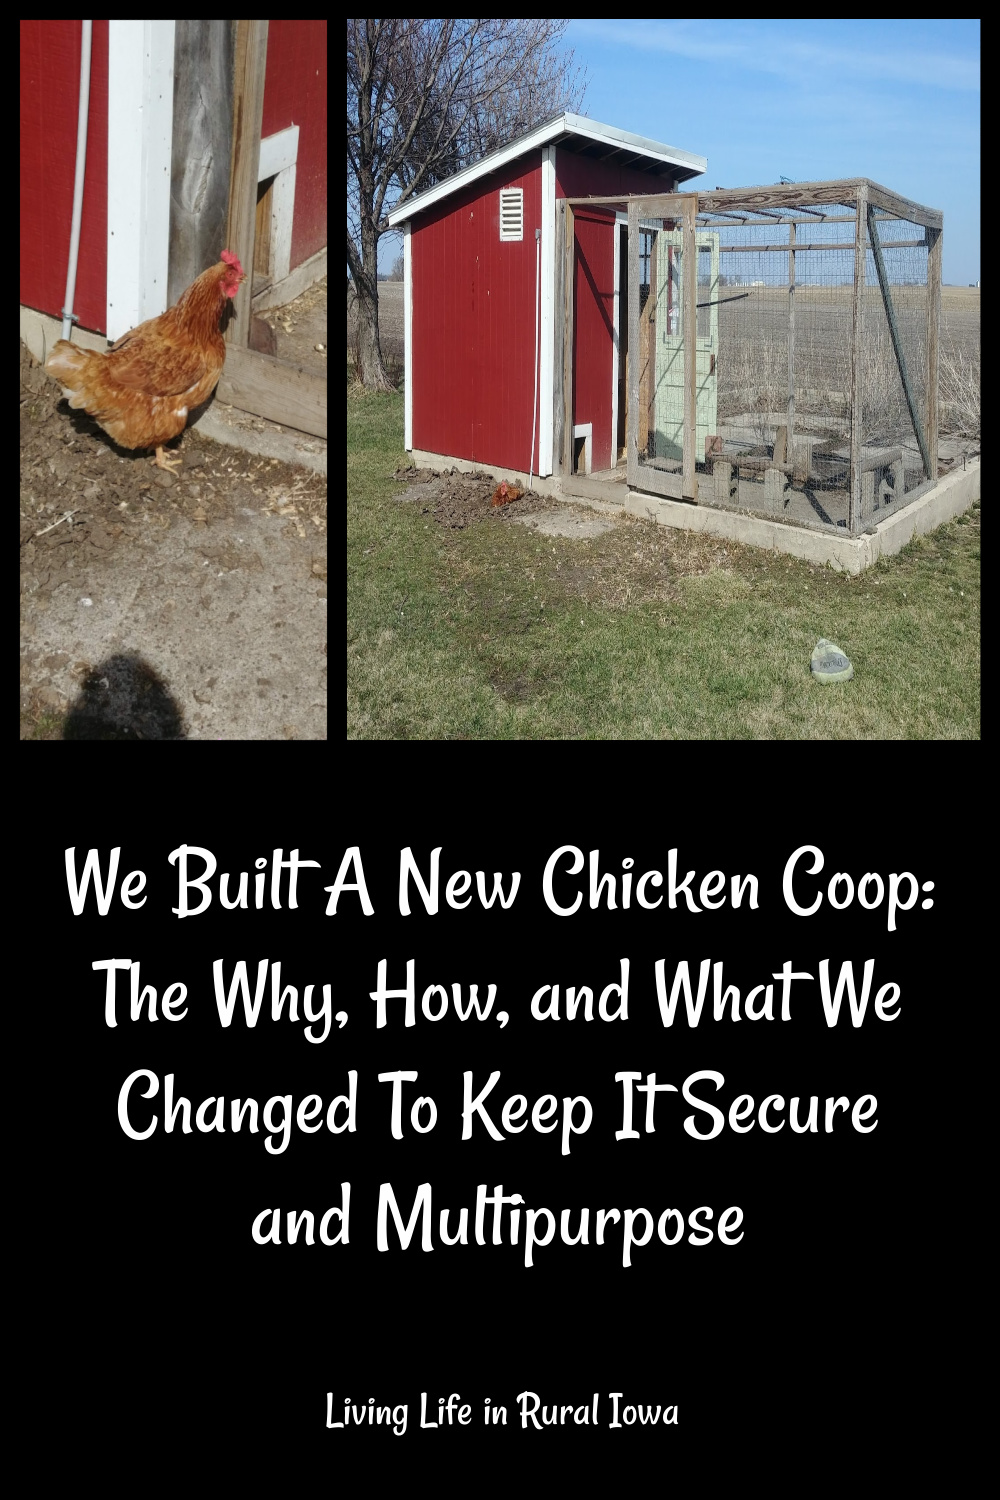
We Built A New Chicken Coop: The Why, How, and What We Changed To Keep It Secure and Multipurpose
From 2014 – 2017, I had my chicken coop in a room in my barn. This worked out great for several reasons: proximity to the house, a ready-made room that was closed off from the rest of the barn, and low cost. I used free and reclaimed materials to build nesting boxes, roosting bars, and an outdoor area.
You can check out that build here: Introducing The Chickens! and Homemade Nesting Boxes.

In 2016-2017, we became aware of another problem that was afflicting our barn and garage when we were trying to make another room in the barn into a shop. We had a major rat infestation which is common on farms and homesteads. This was a major problem and we went on a full-scale attack to get rid of the rats. They had made a way into the barn chicken coop, giving the rats free access to fresh water and food.
Fortunately, we did not have cats at the time so we could use poison and killing traps to get rid of the rats. However, that meant we needed to find a new home for the chickens. I had fifteen two-year-old hens at the time and found a new home for them at a neighbor’s home who had just lost his flock to a mink attack.
The rats were a major problem that was taken care of over the course of the winter. We used the old chicken coop in the barn to lure them into the poison and planted poison and laid traps everywhere we could.
After all this took place, we realized that we needed a new home to keep the chickens away from the barn. We also decided that we did not want a typical chicken coop. We also needed a building that would hold up to Iowa winters and extreme temperature changes. This building needed to be multifunctional in case we moved or decided to not keep chickens anymore. We also needed a building that could be rat-proof as well as other predators.
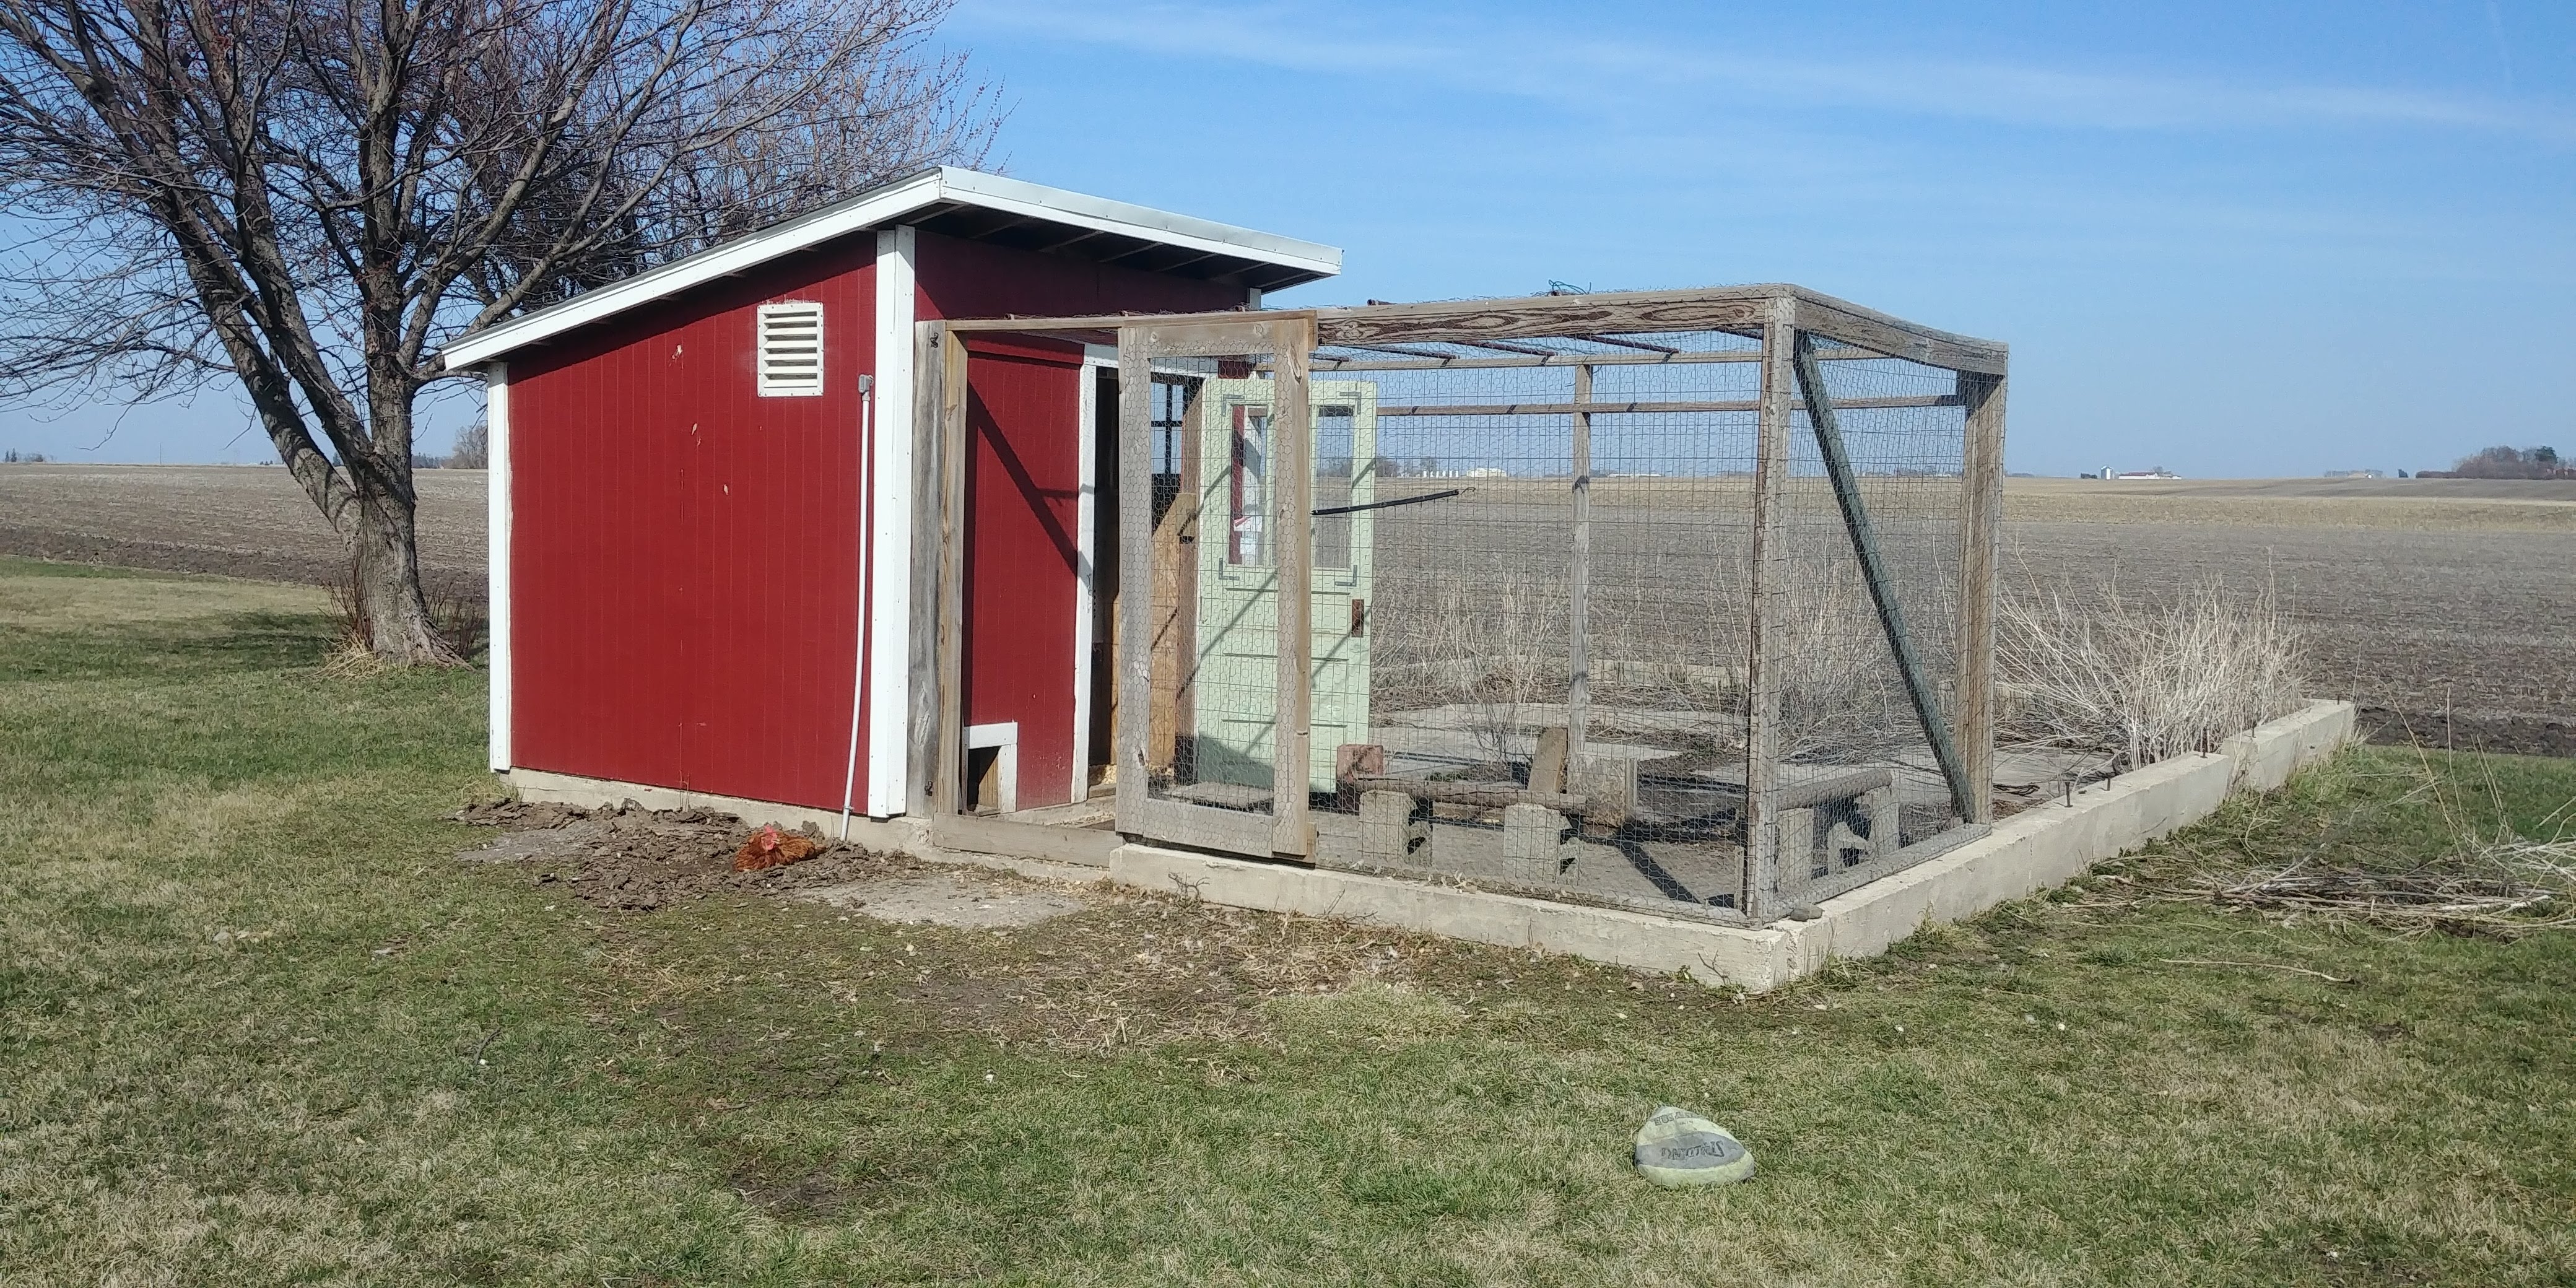
We decided on and built an insulated utility shed that would also serve as a chicken coop. It is an 8-foot by 8-foot building with a walk-in door. We also decided on a small walk-in door for the chickens that could be closed off, a vent in the side of the building, and a window. The shingled roof is slanted down to the back so snow could easily slide off.
Let me clarify one thing: when I say we, I mean Rob did most of the building. I was involved in the design, purchasing materials, procuring free materials, laying conduits, and painting. This was a learning experience for both of us as neither of us had built anything like this before. Many skills were learned in this project.
We used a standard stud frame for the shed and used part of an existing concrete foundation that had previously been a brooder house. We did have to work around the edges of the foundation, but already having a foundation saved me a lot of money. We did have to rent and borrow a hammer drill to put lag bolts in the concrete to hold the frame down.
We used a thin fiberboard siding on the outside of the chicken coop. We were not crazy about how thin this siding was, but this fits our budget and needs. The inside of the coop is 1/2-inch OSB which is holding up beautifully. We did insulate this coop with R16 insulation to keep it warmer in the winter. Unless the temperatures stay below zero outside for several days in a row, the coop stays between 20-30 degrees Fahrenheit all winter. We have only had to heat the coop twice for a week. I used an electric oil-filled heater as heat for the coop. I do not keep it in there all year round.
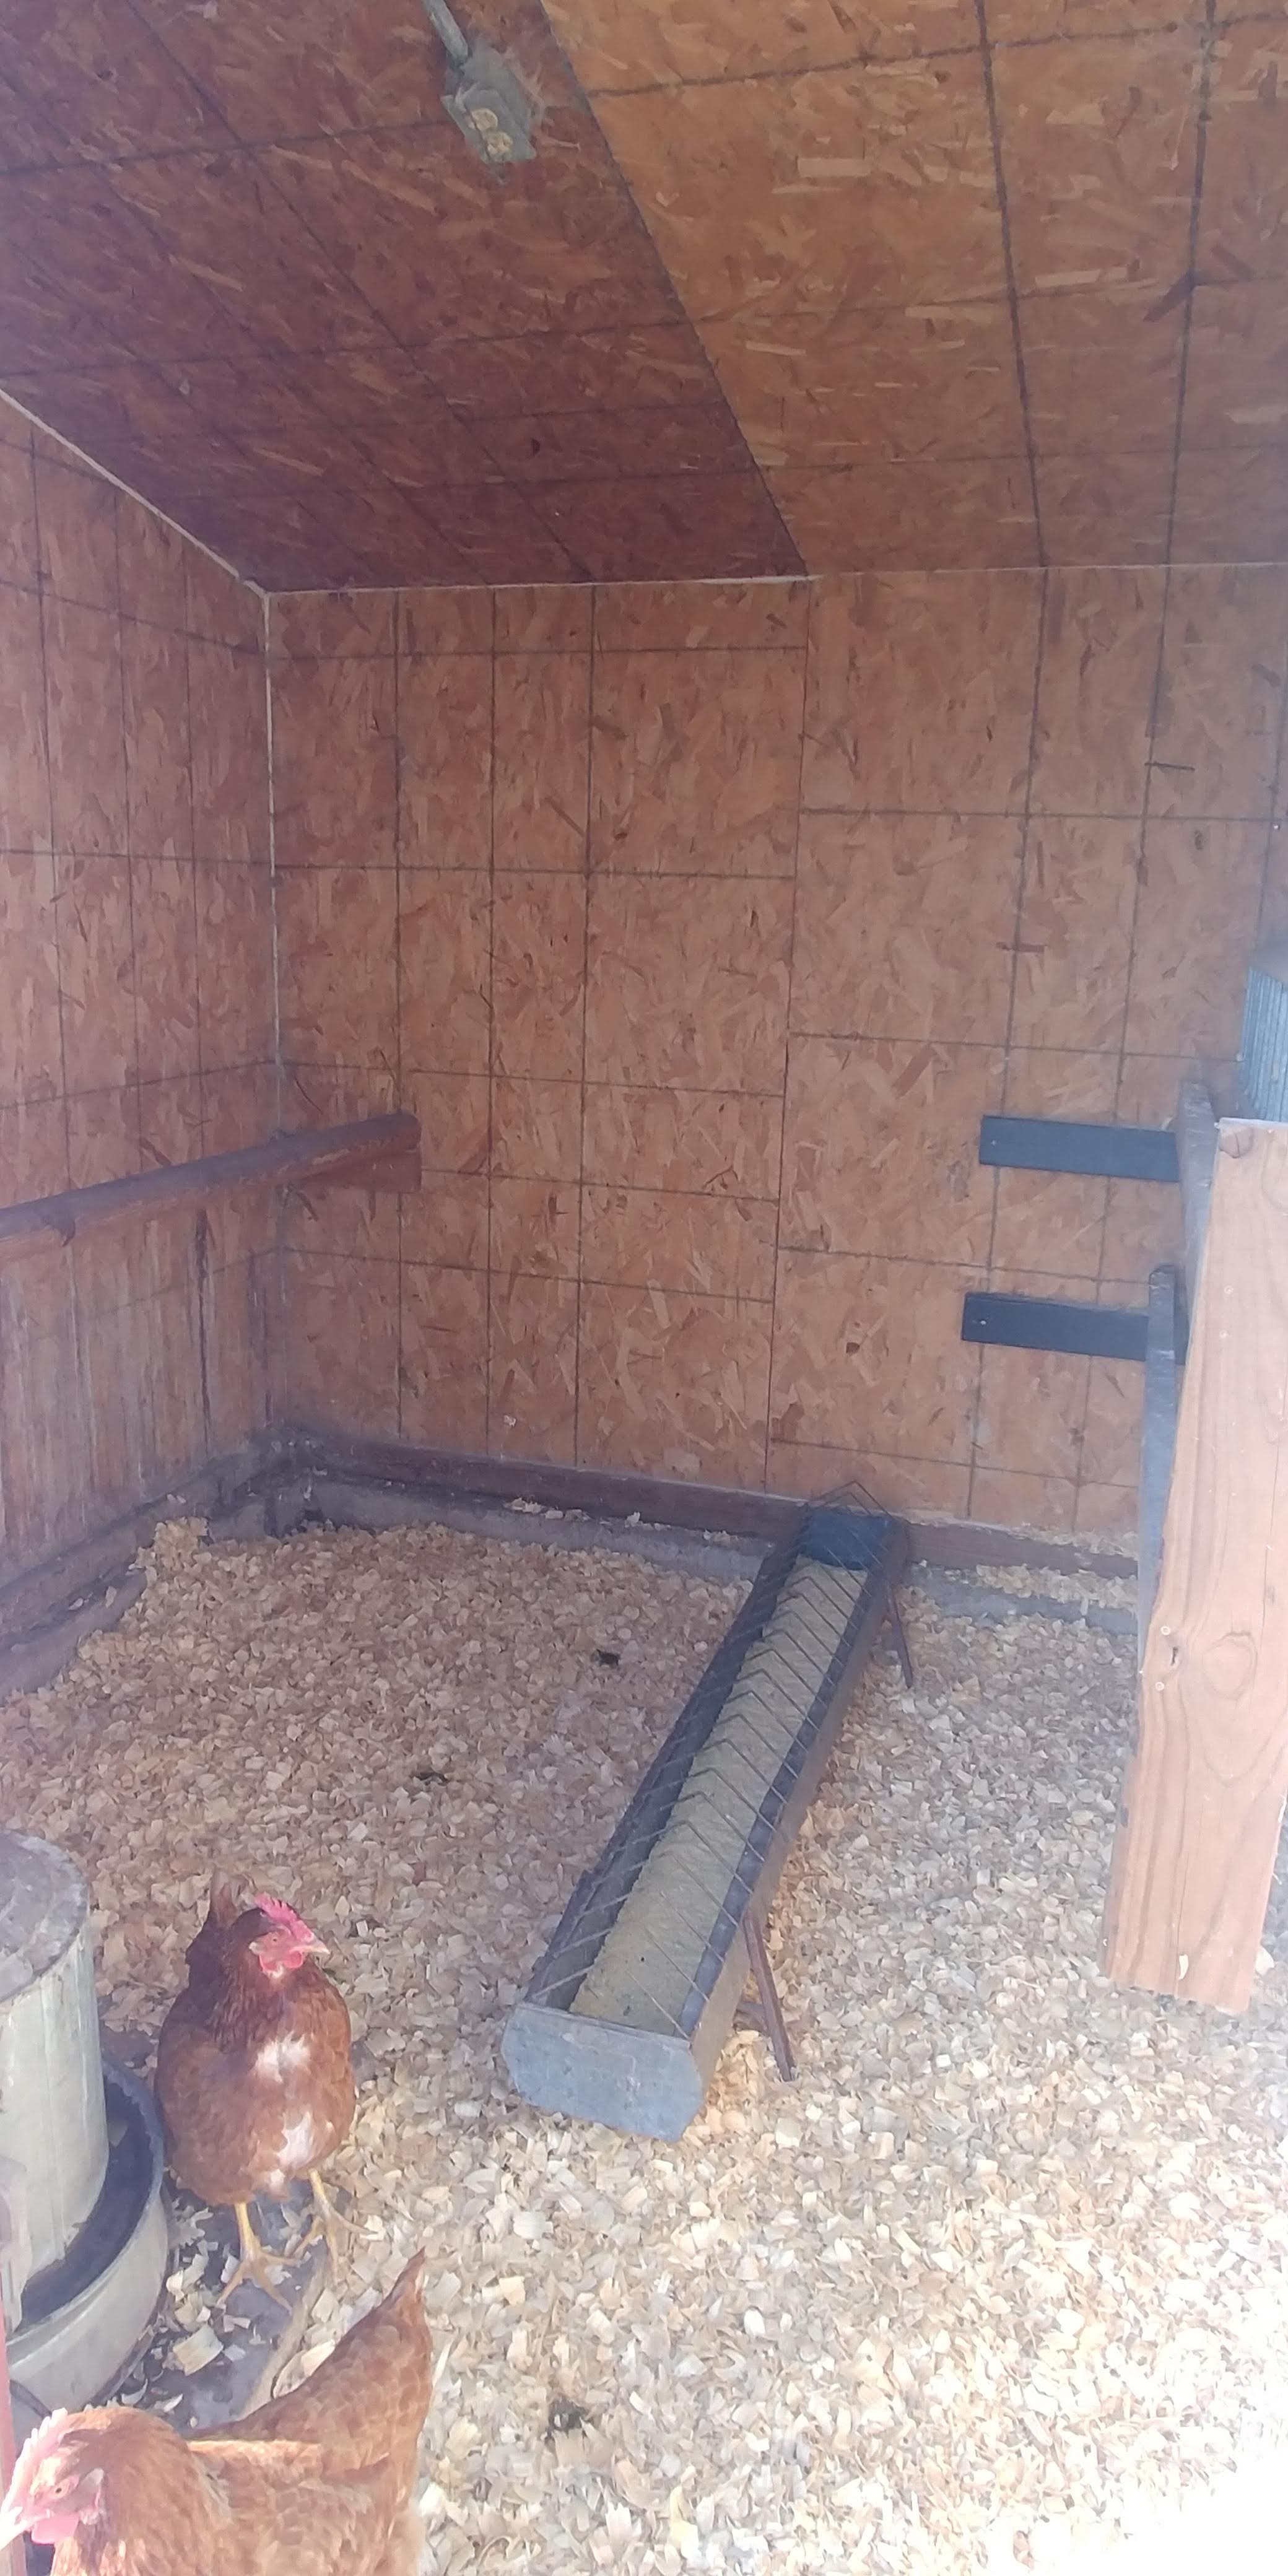
The floor is concrete because we used the existing foundation. This works well for cleaning the coop. We use two bales of large pine shavings for bedding in the spring, summer, and fall. In the winter, we use three bales of large pine shavings for extra warmth. If we cannot clean out the coop in January, we will add more bedding until we can clean the coop. My only complaint about the concrete floor is that it becomes damp in the winter from the humidity inside the coop. I have ideas about addressing this, but we still like the ease of the floor for cleaning.
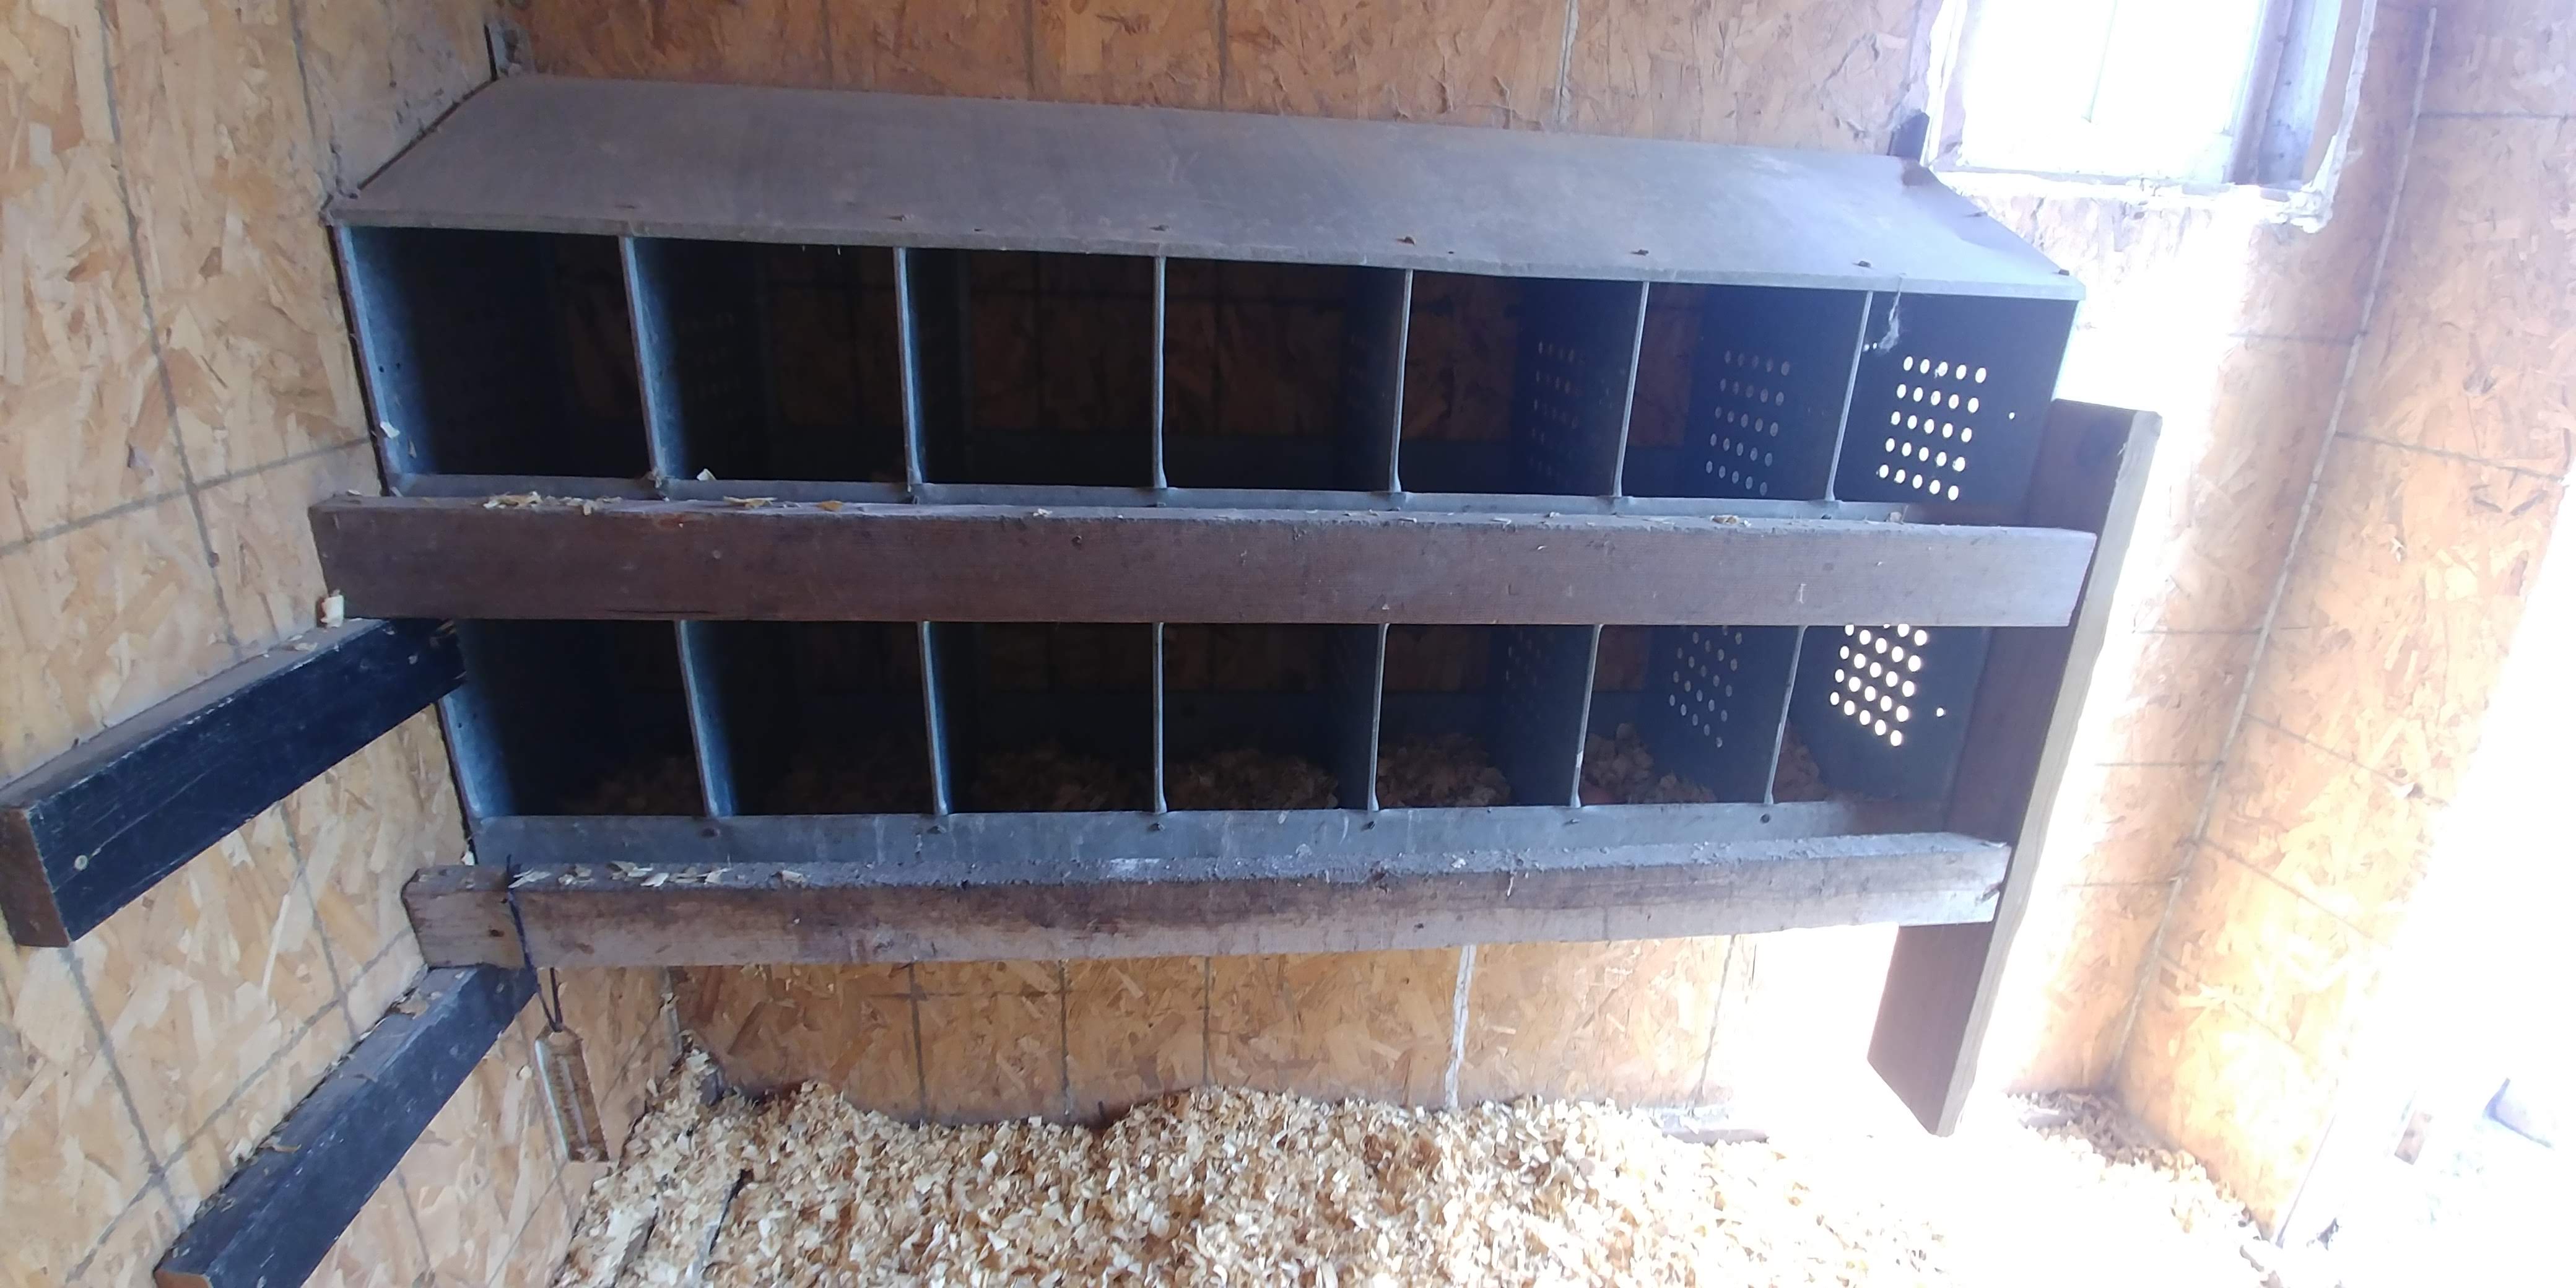
The roost is an old landscaping timber from another project that fits perfectly into the space. It is supported by scrap 2×4 pieces. The feeder and the nesting boxes are “vintage” and were given to me by a friend cleaning out his property. We use a galvanized 2.5-gallon waterer with a heating base added to it in the winter to keep the water from freezing.
This chicken coop/shed has electricity ran to it. This is not necessary but is wonderful when we are doing chores in the winter to see. We have a light with a cage around it and two outlets to plug in the heated water base, the heater, and anything else we need.
The outdoor area was made from 2x4s with scrap metal rods going across the top of the outdoor frame to support the fencing over the top. We started out by using rabbit wire fencing outside the coop and chicken wire over the top. This was a mistake on our part. I had gotten comfortable knowing that the only animals who have attacked my flock were coyotes and hawks. That was completely ignorant of me. The following February, after the coop was built, I lost my entire flock to a mink. While we caught the mink with a live trap and dispatched him, we quickly put chicken wire fencing over the entire outside area with rabbit wire fencing.

The inside walk-in door has been replaced once but was originally an old door we had around and was replaced with another old door. The outside walk-in door was built by Rob and has two latches (one at the top and one at the bottom). We wanted to make sure this door does not get warped due to the wind and weather.
The outdoor area floor is also concrete. I have used uncolored mulch out there in the past for them to dig and scratch in, but now I am not using anything. I have two small roosts out there for the chickens when it isn’t a good idea to have them out free-ranging. They are outside most days.
This coop is designed to be used by 12-15 hens. I could go bigger but would run out of room for them to roost. I only have nine hens right now and some of them still use the nesting boxes to sleep at night. I have found that 12-15 hens are perfect for our purposes and have plenty of eggs.
This coop was built to be sturdy and last a long time. For some people, this would be overkill. However, we often have high winds which can be damaging. We also have the typical winter with cold, snow, and ice which can also be damaging. For those reasons, we decided that this coop needed to be built well.
There isn’t a lot I would change about this design. It works perfectly for us and holds up to the weather we have here in my part of Iowa. I would like to add a rain catchment system for water in the future. I wish it was closer to the house, but I can see it clearly from the house. Otherwise, I love it!
Thanks for reading,
Erica
6 thoughts on “We Built A New Chicken Coop: The Why, How, and What We Changed To Keep It Secure and Multipurpose”
How awesome you were able to reuse the foundation already in place! Very handy.
Great ideas – definitely taking notes. 😀
We recently converted a metal shed into a coop. We are hoping that it doesn’t get too hot for them.
Looks like you made some great changes to your coop. Thanks for sharing!
For never having built anything like this, looks like y’all did a great job! I especially love the nesting boxes!!
Great job building a great coop. Rats and rodents can be a real issue. What a frustration! Glad you got it sorted out.
We are looking to include chickens on our urbanstead and they are so expensive to purchase. You have some great ideas here, I think a home built chicken coop is in our future. Thank you!