Sunday Savings on the Homestead Week 11: Starting Seeds
Every Sunday I will be posting a Sunday Savings on the Homestead. This posts will concentrate on one money saving thing you and I can do to save money for the week. Some will be easy, some will be be a bit difficult, and all will concentrate on one way to save money for the week. Please join me in trying to live a frugal life in 2015!
Got your gardens planned?
You do?
Awesome!
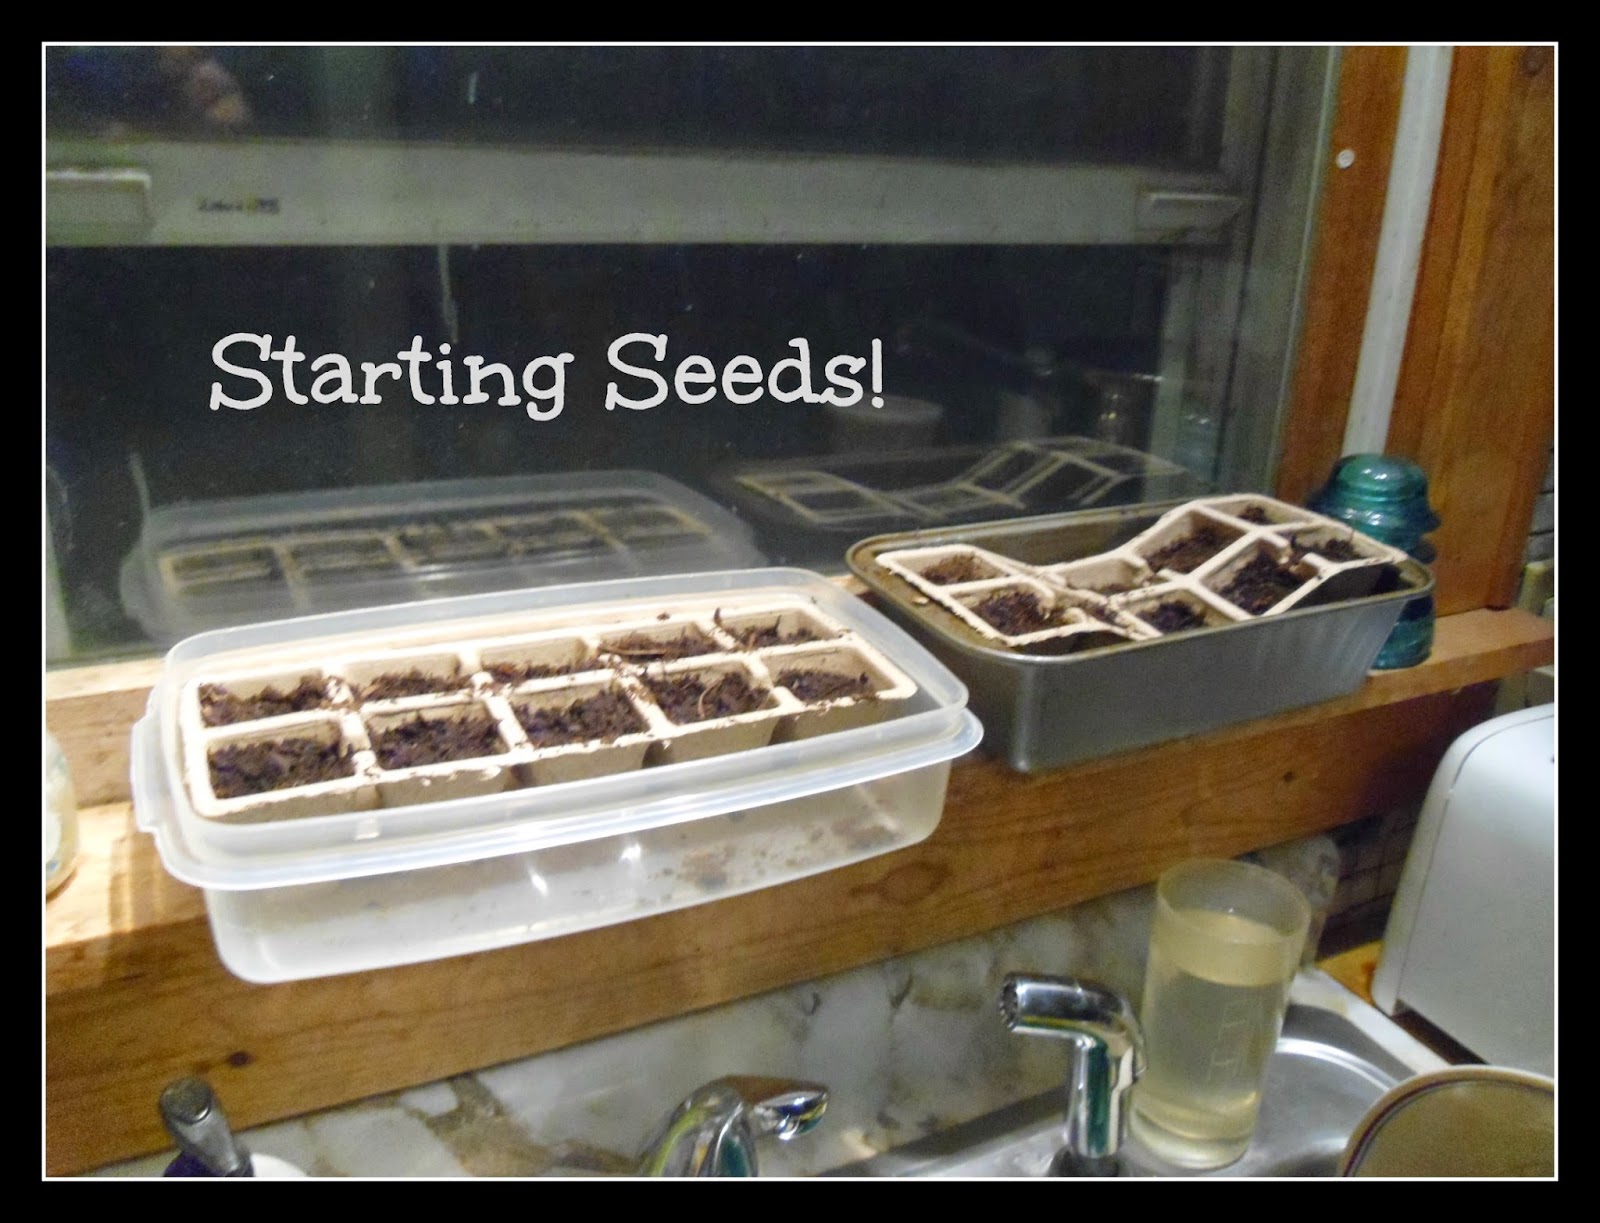
Now is time to start some seeds! I haven’t always been too successful at it in the past, but I learn every year. And I have a co-worker who is really good at starting seeds. I want to do my own tomatoes and peppers this year to save me money in May. With graduation coming, I don’t have a lot of money to play with that month. I will also start my own cabbages. I only do 4-6 cabbage plants, but I love roasted cabbage and it stores well.
Literally, starting seeds is a pretty frugal activity. I bought a pack of 50 seed starter pots for $3 at Dollar General. I got a bag of seed starting and herb planting soil for $5.00. I bought seeds last year and have enough for this year. Otherwise, check out Seeds for Generations’ seeds (look right for a link!) for some great choices!
1. Fill your pods with seed starting soil.
2. Plant your seeds. I usually use 2-3 seeds per pod for better germination. Sometimes, one or more of the seeds will not germinate.
3. Mist the tops with water. I usually add water to the bottom of the tubs holding seeds to help draw moisture up instead of watering down.
4. Cover loosely with plastic wrap or some type of plastic. This year, I am using plastic leftover from covering windows. The plastic helps create a moist, warm environment that the plants want to grow in.
5. Make the sure the plants stay moist, but aren’t soaked. As the plants come up, you may have to elevate your plastic using skewers or toothpicks. After my plants are up 1-2 inches, I remove the plastic. However, when to remove it is your choice. Sometimes my house is a little chilly and I will keep the plastic on longer.
6. Keep the growing! If you do have two plants come up in one pod, remove one of the plants. Some people choose to replant the thinned plants, but that is your choice. I have not had good luck with that!
7. After the plants are up 4-5 inches, you may take them outside to harden them a bit. My co-worker also believes in using a small fan on low and letting that blow on them to harden them also. Just choose warm days and not days that will ruin all your hard work!
8. In 6-8 weeks, you can plant them outside. Make sure all risk of frost has passed. In northern Iowa, I wait until after May 15th. Some gardeners do sooner and some wait for longer. If you do sooner, just be prepared to cover them at night somehow.
That is it! Not too difficult, but this activity does require your time and attention for awhile. The savings will be well worth it to not have to buy plants at $2-4 a piece at the local gardening center!
Thanks for reading!
Erica
