Updated 8/14/2025
In our quest to become healthier, be frugal, and self-sufficient, we have been making our chicken stock from scratch. It’s an easy way to stock your shelves with a cooking liquid. I have been using my homemade variety for a little over a year now and I love it! I can my chicken stock and sometimes I will freeze it, but I like canning it the best. No unthawing!
Chicken Stock
The ingredients are very loosely based. It really depends on what I have on hand. I use the bones and leftovers from when we roast chickens. I will keep these in the freezer and pull them out when I get time to make broth.
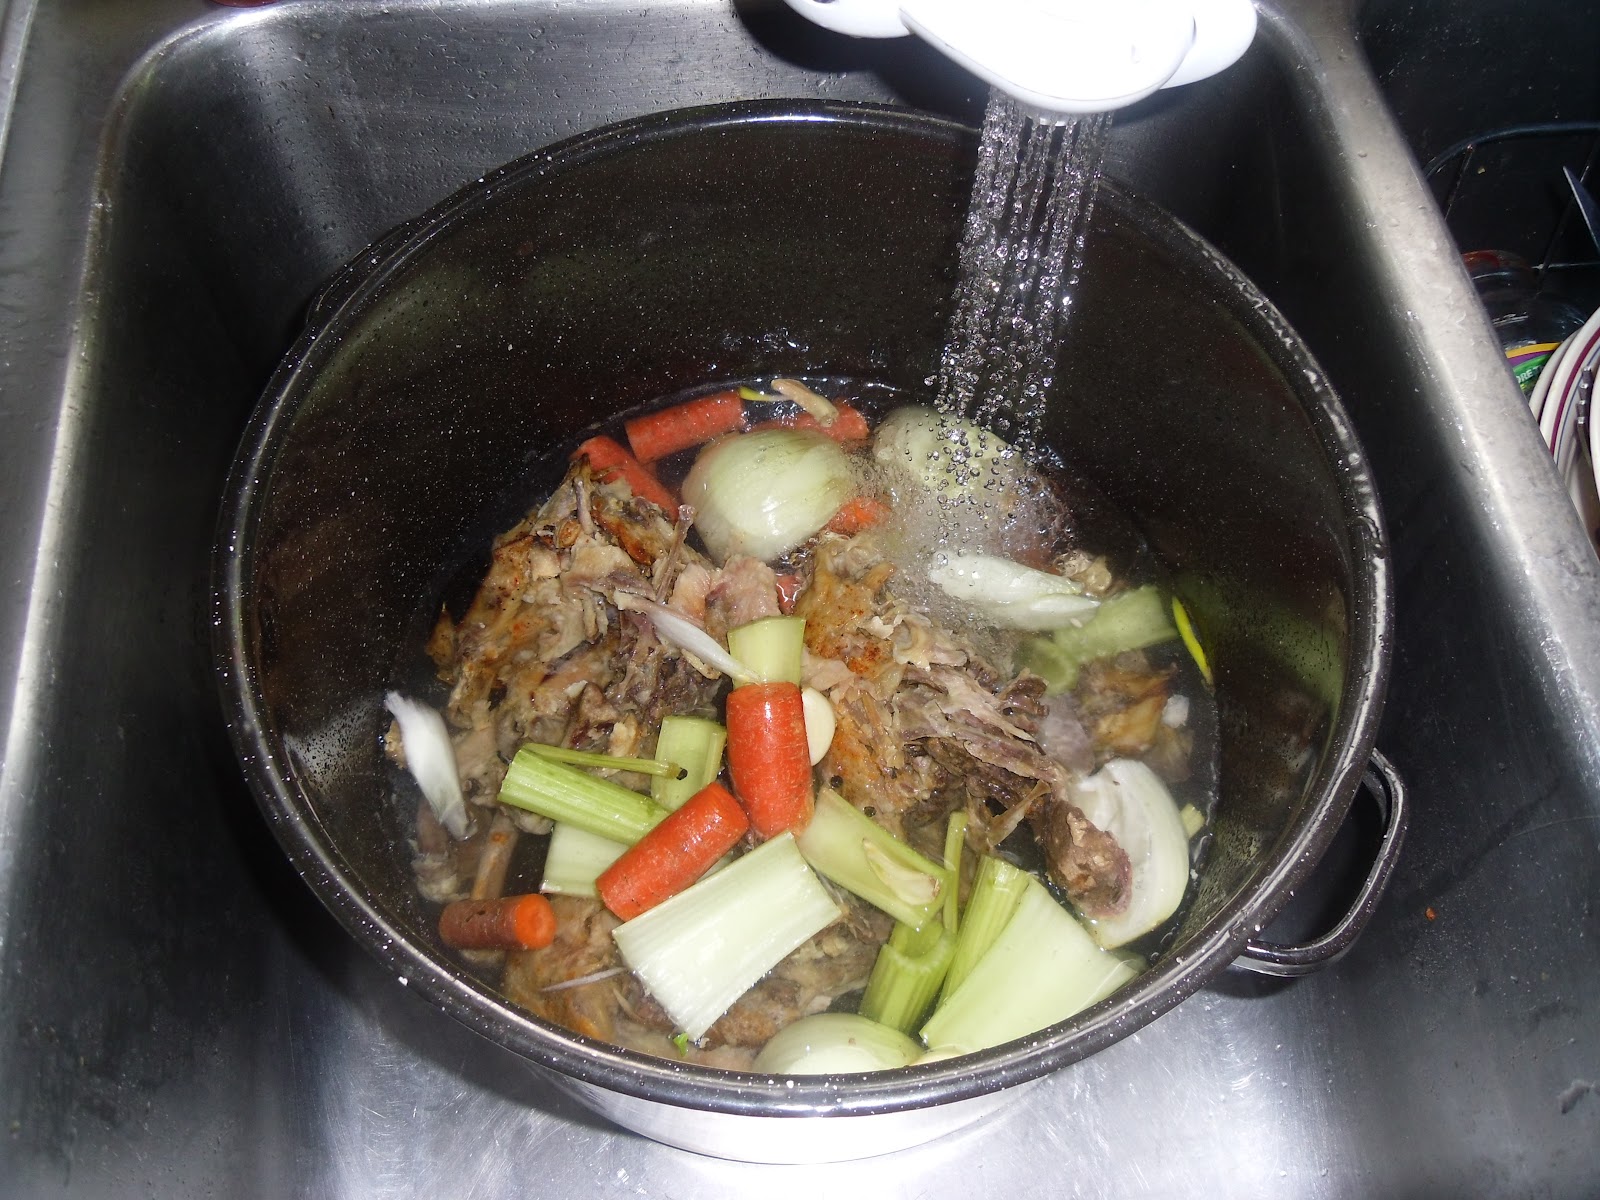
1-2 chickens, worth of bones and leftovers
3-4 carrots, roughly chopped into pieces
3-4 celery stalks and leaves, roughly chopped into pieces
1 onion, cut up into wedges
3-4 garlic cloves, whole
Salt to taste (I add roughly a scant palmful)
Whole peppercorns (10-12 roughly)
1-2 Tablespoons apple cider vinegar
Water to cover the whole thing and then some
Put all ingredients except water into a stock pot. I use the biggest one I have which is a 16-quart. Add the water. Fill 3/4 full.
Place on the stove. I bring my stock to a boil and then turn it down to simmer. Keep it covered to keep the goodness in the pot. I let this simmer for at least 2-4 hours.
After a few hours, remove the pot from the burner and let it cool a bit. Strain the chicken and veggies out by either a strainer or using a cheesecloth for more clarity in the broth. Strain into the biggest bowls you own. It makes this next step easier.
If it is summer, put your strained broth into the fridge to cool and let the fat rise to the surface. If it is winter and cold where you are (30 degrees and colder), put it outside and out of reach of the animals. I use the inside of my grill which sits out all year round. Let the broth sit for 24 hours.
Bring the broth inside or out of the fridge. Skim off the fat layer at the top. I will leave it up to you as to keep it or not. I know people who do and use it when cooking. I don’t. If canning the stock, this would be a good time to heat it back up again.
If freezing the stock, fill your containers 3/4 full to allow room for expansion. Label and place containers in the freezer. You are done.
If canning the stock, fill hot jars with hot stock, leaving one inch of headspace. Screw hot lids and rings on the jars and place them into the pressure canner. Fill the pressure canner with 2-3 inches of water and place the lid on the canner. Use the canner according to the instructions you have. My canner is old and basic. Bring the canner up to 10 pounds of pressure. Process the pint jars for 20 minutes, quart jars for 25 minutes (as per
Ball Book of Preserving). Let it cool and bring the pressure down in the canner. Take it out of the canner and listen for pings. Let cool, label, and put away for the day you want truly
homemade chicken noodle soup!
Alternative method: You can put the whole works into your
slow cooker. I divide the ingredients into two slow cookers to make this recipe. Place everything into the slow cookers, set on low for 8-24 hours. I let the slow cookers go all day, let them cool, strain the stock, place it in the fridge, and process it during the day when I have time.
My recipe makes me about 6-7 quarts of stock. I usually end up freezing some too.
I also make this with leftover turkey and duck bones with the same delicious results!
That is it! A basic and simple chicken stock that will blow you away with goodness! Yum!
Thanks for reading,
Erica
This article contains affiliate links for Amazon.
Sharing is caring!


2 thoughts on “Make Your Homemade Chicken Stock From Scratch”
I love making and using chicken stock. the house smells great, i know what's in the stock, and it enhances the flavor of everything. Thanks for joining our linky this week. http://juliecache.com/2012/04/02/frugal-tuesday-tip-april3/.html
Thanks for posting this! I have always wanted to make my own, now I know how! And I like that I can can it since freezer space is at a premium & I forget to thaw things in time.